What have we done to ourselves?
By Al R. Young
The $10 Easel in the studio has served well as the workhorse for painting projects since Ashton and I built it in September 2006. And, like most of our do-it-yourself pieces of studio equipment, we keep modifying or adding accessories as projects require. This post talks only about the easel's basic construction. Future posts describe the add-ons.
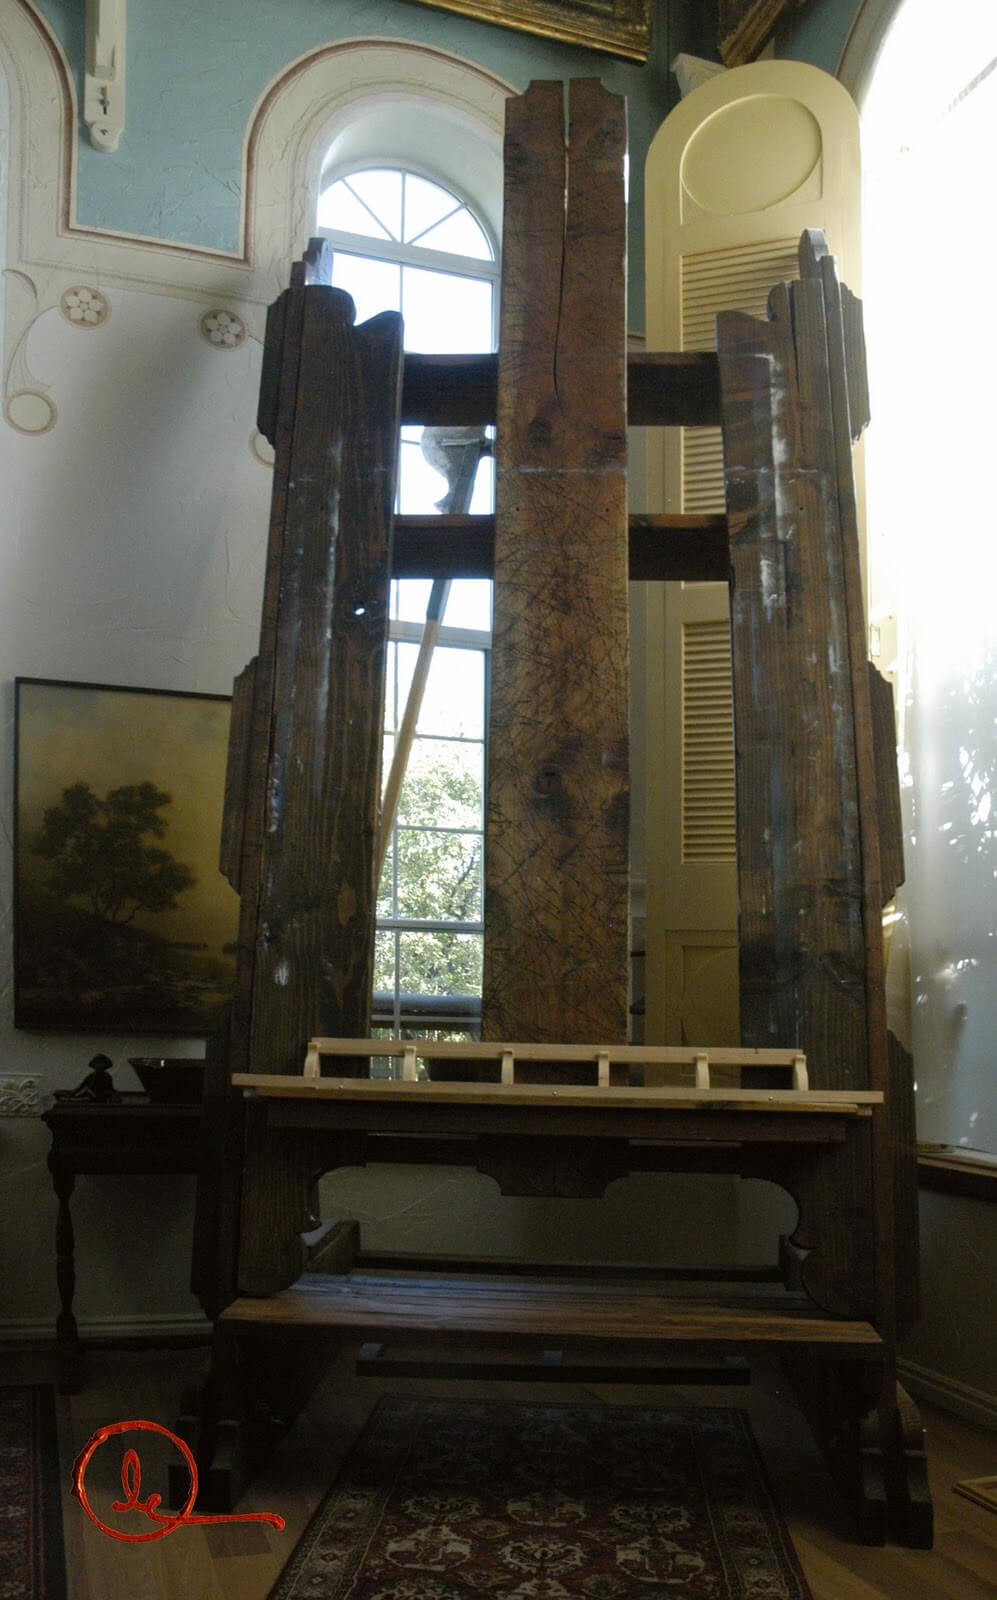 | |
| Photograph A - Front view of the easel in the northeast corner of the studio |
|
In the early fall of 2006, we ripped up the carpet, padding, and tack-strip in the studio, kitchen, and pantry. With dislocated furniture and forlorn kitchenware piled throughout the rest of the main floor as though we enjoyed living inside a garage sale, we took a belt sander to the exposed subfloor and spread a frosting of dust over the spectacle. (There are times when do-it-yourself doesn't look like it's going to have a happy ending; that it may not, in fact, ever end.)
Against this what-have-we-done-to-ourselves backdrop, we went to Home Depot to purchase several 1x6s to finish the edging along a storage area under the shelves in the pantry -- a harmless enough purchase, but we saw this sign taped to a lumber cart at Home Depot (a cart absolutely groaning under a load of warped 2x12s, 2x10s, 2x4s, and assorted board-things too numerous, and too hopeless of use, to name).
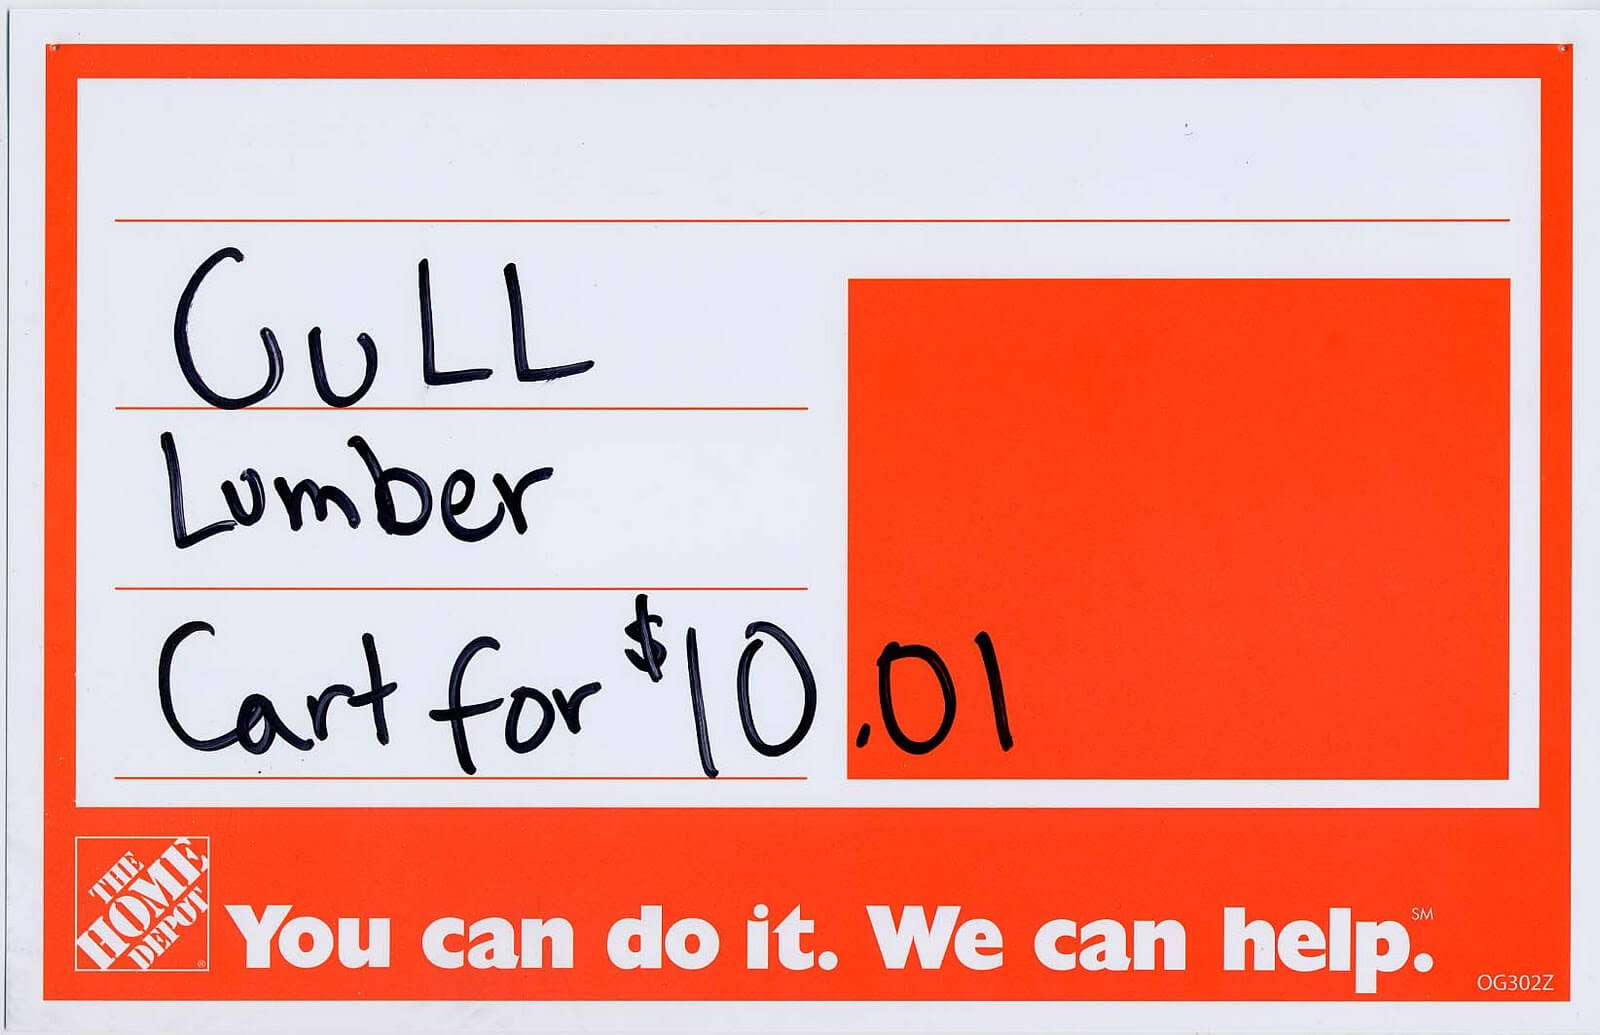
As we pushed the cart to the check-out stand and then attempted to load it into our car (not, mind you, into an SUV, or a pickup, or a wire-cage utility trailer), I made note of the expressions on the faces of the people we passed: I've seen spectators less awestruck along parade routes where they had camped overnight just for the privilege of watching.
Then, after arriving home, we faced the challenge of where to store the forest of cast-off trees, so we could still stand in and move about the shop while trying to build a mammoth easel in it. And, of course, the task of building the easel--like our other building projects--would not be a matter of meticulous forethought and measured drawings; but more like trying to conduct an avalanche while standing at the bottom of the mountain.
My objectives in building another easel were to accommodate large-scale paintings (particularly vertical works), take maximum advantage of studio light, and ensure stability for work with heavy panels.
The following diagrams summarize the easel's construction. Great care must be taken to ensure that the weight of the easel is appropriately centered above its base. My technique for painting skies and applying glazes often become quite vigorous. Having a stable easel for any size of painting, but for a large painting especially, is very important, particularly because I dislike painting on any surface that "moves" in response to brushwork.
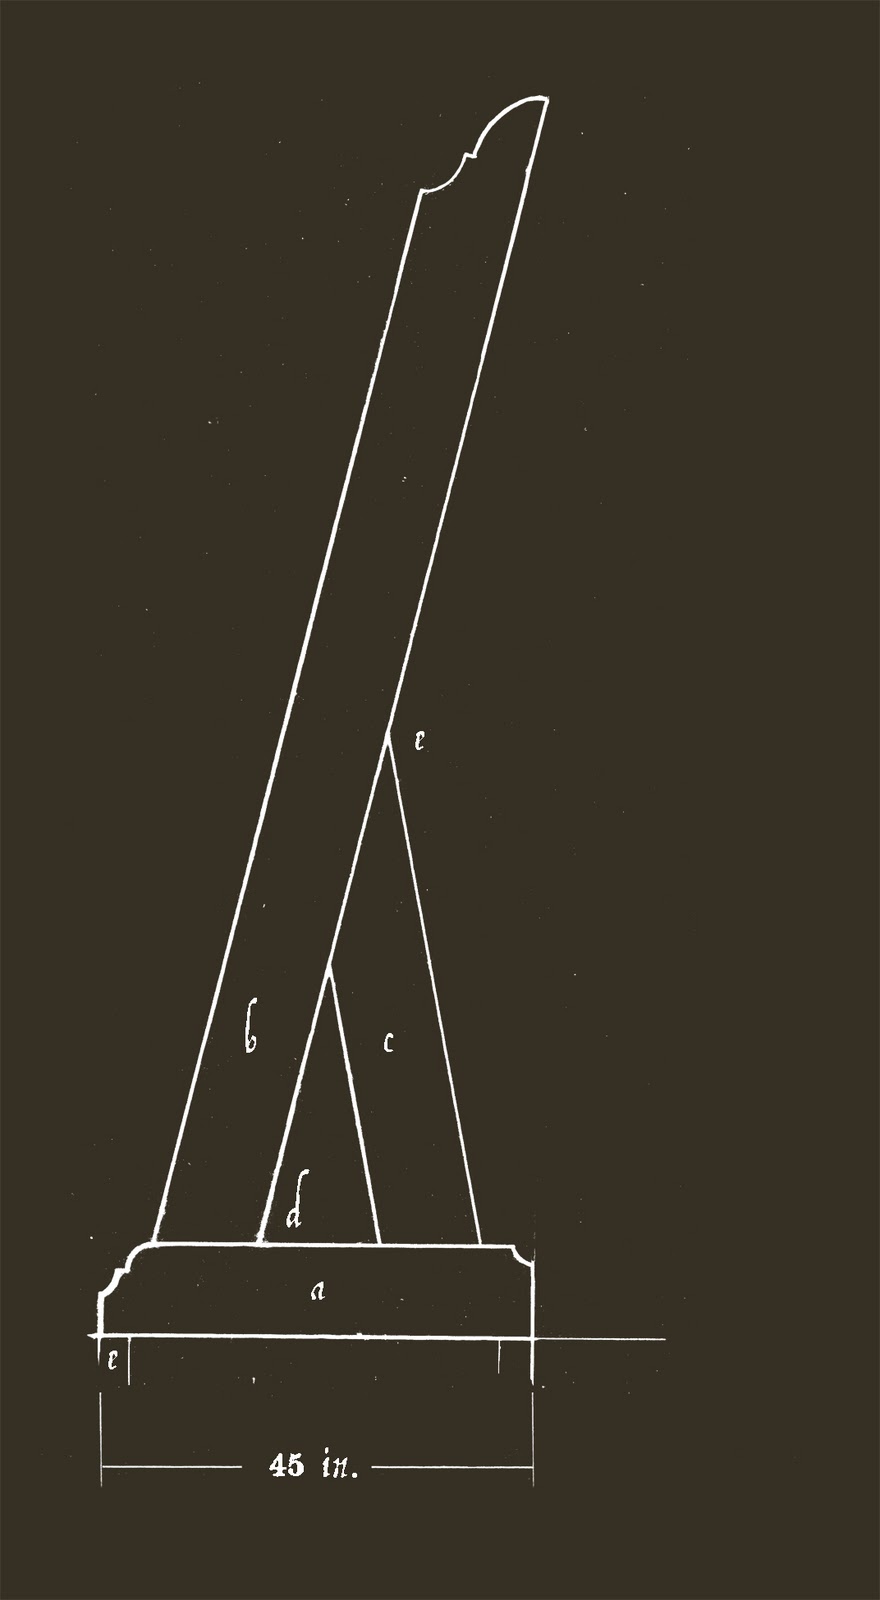 |
| Fig. 1
The base of the easel (a) is a 1x10, b is a 1x12, and c is a 1x10. Both uprights (b and c) extend all the way to the floor, and are sandwiched between two 1x10s, each pair of which serves as a runner. Photographs below provide details about configuration and joinery. At e, the "toe" of each upright is set back from the front of the runner a distance of 3 in. The angle at d is 76 degrees. |
The profile cut into the front of each 1x10 runner (at the base of the easel, at left in Fig. 1) is designed to preclude toe-stumping while working on paintings. The height of the easel is shown in Fig. 2. The profile of the vertical side is simply ornamental.
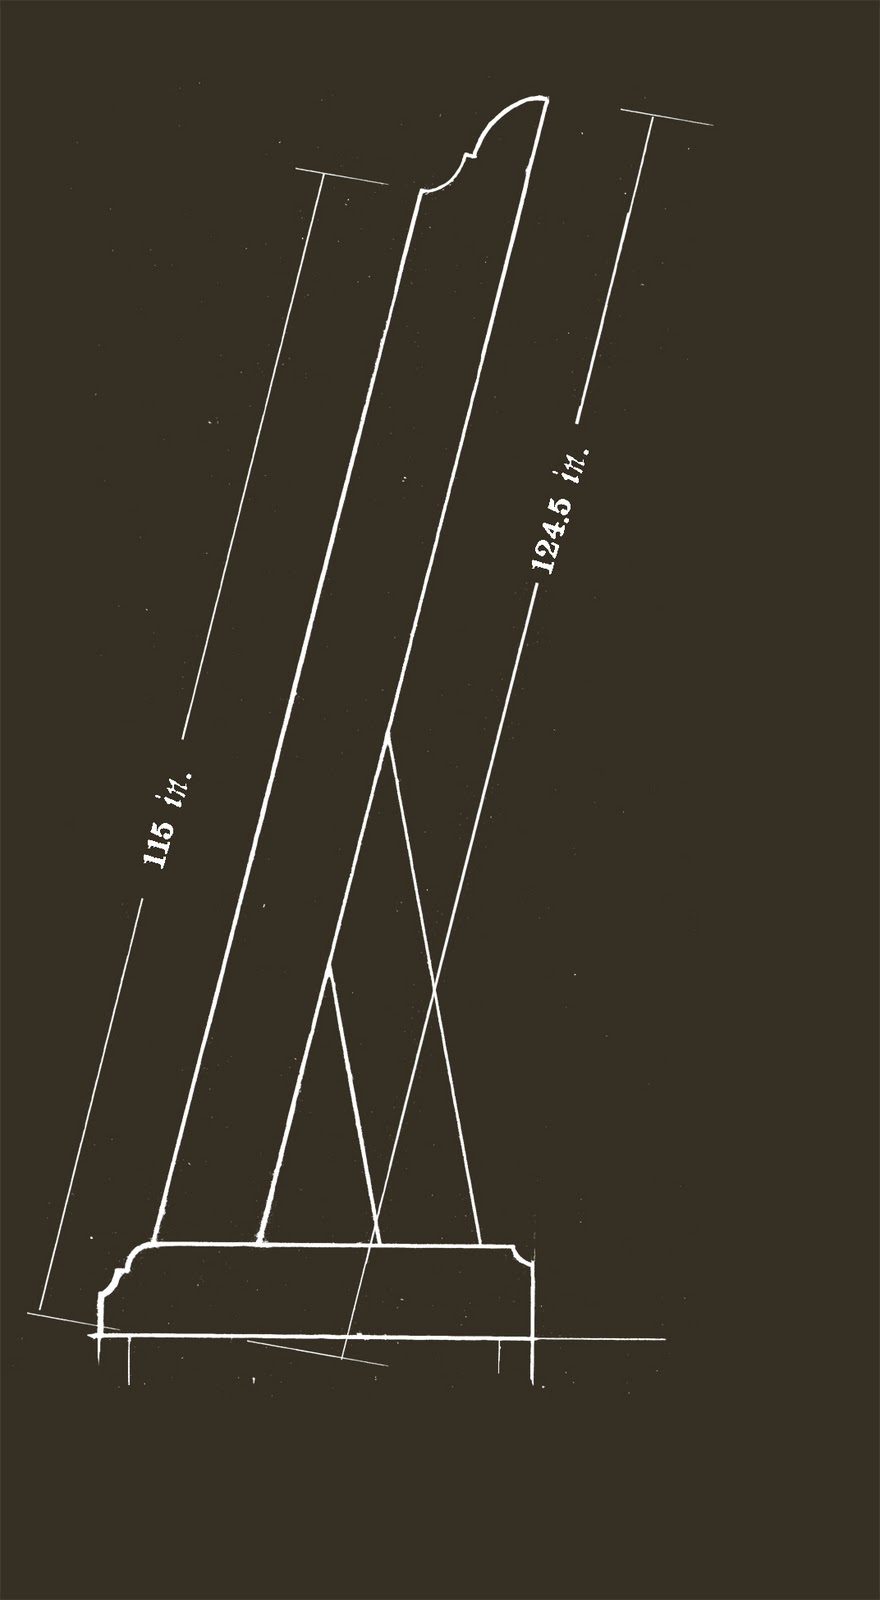 |
| Fig. 2 |
The following photograph shows the construction of the runners at the base of each upright. (The platform resting on the top on the "inside" runner is a platform added later, and described in a subsequent post.)
 |
| Photograph B - Front of a base |
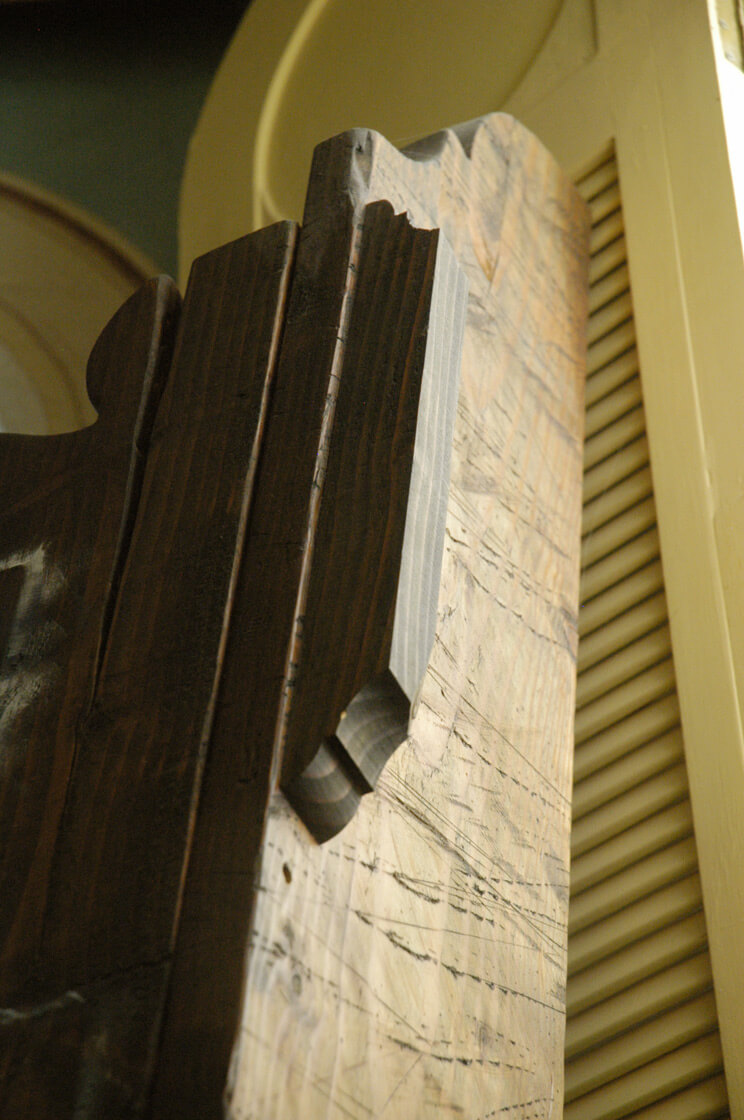
The next photograph shows the joint (labeled e in Figure 1) between the upright side (b) and its back brace (c). The two members of this joint (b and c) are not attached to each other; instead, (b) simply leans on (c) and is held in place by (g) and (f).
 |
| Photograph C - Joint between an upright side and its back brace |
In the foregoing photograph, (f) is one of two 2x4s attached to (c) -- one attached to one side of (c) and the other attached on the side opposite. These two 2x4s keep (c) from moving laterally, out of under (b). The 2x2 labeled (g) in the photograph, above, is attached to the edge of (b), and keeps (c) in place directly under the weight of (b).
Figure 3 shows the front of the easel.
 | |
|
The following photograph looks up into the easel between (i), at left in the photograph, and (h), at right in the photograph. The under side of the horizontal cross members (k1 and k2) show the 2x2 ledges on which they rest. The 2x2s may not be absolutely necessary once the easel is in place; however, during easel assembly each of the two sides of the easel (the pieces appearing in Fig. 2 and Photographs B and C) were assembled and then brought into the studio. And in addition to the pieces appears in the diagram and photographs, the 2x2 ledges appearing in Photograph D were attached to the inner face of each easel upright.
The horizontal cross members (K1, K2, and K3) were also cut and brought into the studio.
Assembling these massive parts was made a good deal easier by the 2x2 ledges because they helped hold the horizontal cross members in place (i.e., while the sides of the easel were being held upright, a horizontal cross member was put in place -- resting on its 2x2 ledges -- and a large furniture clamp was then used to hold the pieces in position while grabbers were installed to secure the joints. This is not the only way we might have assembled the easel, and it isn't even necessarily the best. The important thing to remark is that in a project of this size, assembly is something to think about and integrate into the design from the outset.
 |
| Photograph D |
In Figure 3, parts (h) and both parts (i) are mounted "inside" the vertical sides of the easel (labeled (b) in Figure 1); that is, the front side of each vertical member (b) is flush with the front surface of (h) and both parts (i). This means that the 2x2 ledges shown in Photograph D are (when mounted to the inner face of the vertical sides of the easel, recessed from the front edge of (b) by the thickness of a piece of 2x, or 2-in., stock.
Finally, along the front edge of the vertical sides of the easel -- (b) in Figure 1 -- are mounted several lengths of wood about 2 in. thick and 20 in. long. These provide a place to clamp bridges, lights, panels (to which reference photographs can be attached),and other tools and accessories required for a project.
Browse articles by year: 2026 . 2025 . 2024 . 2023 . 2022 . 2021 . 2020 . 2019 . 2018 . 2017 . 2016 . 2015 . 2014 . 2013 . 2012 . 2011 . 2010 . 2009 . 2008 . 2007 . 2006 . 2005 . 2004 . 2003 . 2002 . 2001 . 2000 . 1999 . 1998 . 1997 . 1996
Browse articles by topic: Art lessons . BenHaven Archives . Blank art diaries . Fine art photography . Framing . Illustration . Inspiration and creativity . Isles of Rune . Limited Editions Collection . My Fathers Captivity . News . Novellas . Oil paintings and prints . Operations announcements . Orders and shipping . Overview . Portfolios . The Papers of Seymore Wainscott . Project commentaries . Recipes by Nancy Young . Recommended reading . Recommended viewing . Temple artworks . The Storybook Home Journal . Tips and techniques . Tools supplies and operations
Browse articles by topic: Art lessons . BenHaven Archives . Blank art diaries . Fine art photography . Framing . Illustration . Inspiration and creativity . Isles of Rune . Limited Editions Collection . My Fathers Captivity . News . Novellas . Oil paintings and prints . Operations announcements . Orders and shipping . Overview . Portfolios . The Papers of Seymore Wainscott . Project commentaries . Recipes by Nancy Young . Recommended reading . Recommended viewing . Temple artworks . The Storybook Home Journal . Tips and techniques . Tools supplies and operations